Running FreeNAS on a DigitalOcean Droplet
- Shlomi Marco
- Apr 25, 2018
- 5 min read
Updated: May 1, 2018
ZFS is awesome. FreeBSD even more so. FreeNAS is the battle-tested, enterprise-ready-yet-home-user-friendly software defined storage solution which is cooler then deep space, based on FreeBSD and makes heavy use of ZFS. This is what I (and soooooo many others) use for just about any storage-related task.
I can go on and on and on about what makes it great, but if you're here, reading this, you probably know all that already and we can skip ahead.
I've needed an offsite FreeNAS setup to replicate things to, to run some things, to do some stuff, basically, my privately-owned, tightly-controlled NAS appliance in the cloud, one I control from top to bottom and with support for whatever crazy thing I'm trying to do. Since I'm using DigitalOcean as my main VPS provider, it seemed logical to run FreeNAS there, however, you can't. While DO supports many many distos and pre-setup applications (e.g OpenVPN), FreeNAS isn't a supported feature, at least not in the traditional way :)
(Just to clarify, there are VPS providers which offer custom ISO installation, one I particularly like is Vultr, however, I wanted to do so on a DO droplet, just because).
Before we begin, here's the gist of what we're going to do:
Base of a FreeBSD droplet, we'll re-image our boot block device with FreeNAS iso.
We'll then install FreeNAS on the second block device.
Once done we're going to do the ol' switcheroo: we're going to re-image our original boot block device using the now FreeNAS-installed second block device.
If you've followed my other post on Running pfSense on DigitalOcean, it's relatively similar.
It may sound slightly complicated, but it's actually all fairly straight forward, here goes:
Part 1: re-image our boot block device to boot FreeNAS install media.
Start by creating a FreeBSD droplet.
Please note: I use the 5$ 1GB ram one just for this demo. In production you'd want at least 8G of RAM (though, to be fair, I have instances running perfectly fine on 4G for years now).

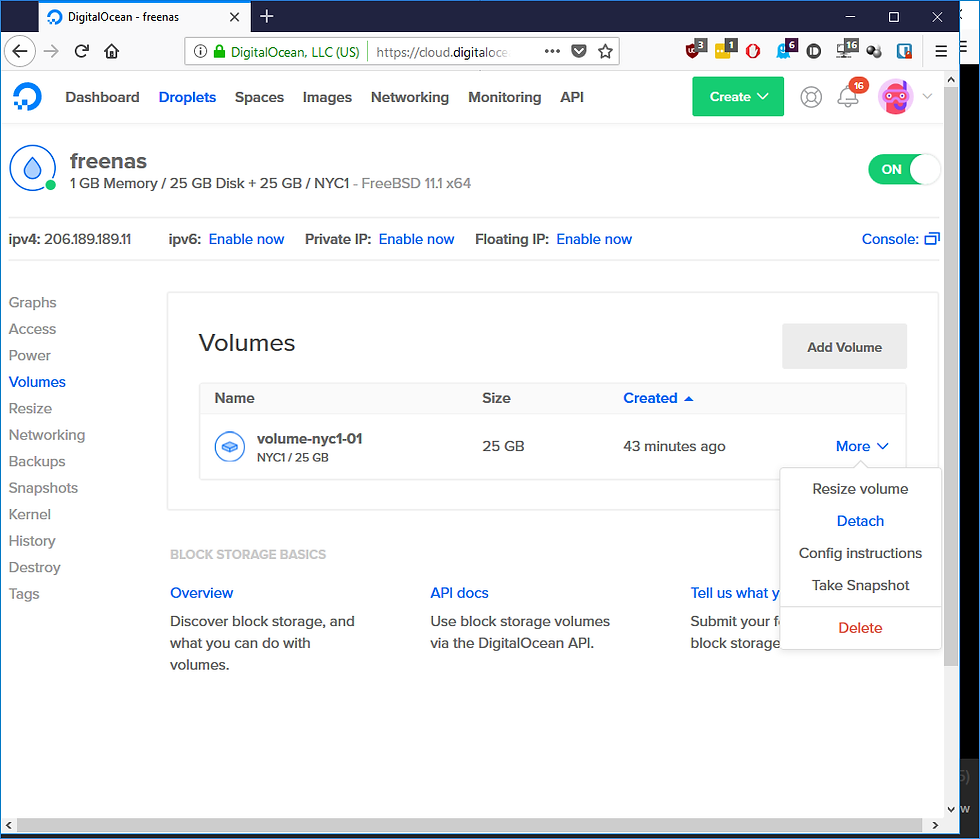
Add a new block storage device, this will be the installation target, match the size to the size of your droplet boot device (in my example, 25GB). Remember that this is a throw-away device, once we're done, you'll get rid of it (and stop paying for it, that's how cool DO is).

Spin up your droplet and log in.
Download the FreeNAS installation iso with curl:

Become root and turn off swap. GEOM will prevent us from trashing our boot block device, so we'll sysctl a flag to enable us to do so:

Now, dd the installtion ISO on to /dev/vtbd0 (this is our main (read: boot) block device), once done, reboot your machine:

That was fairly easy, right? on with the second part.
Part 2: Install FreeNAS on the second block-device
Head over to DigitalOcean control panel and open the HTML5 console for this droplet.
If all went well, you should see the FreeNAS installer greeter followed by the installer booting up:


YAY! We're now ready to start out installation :)

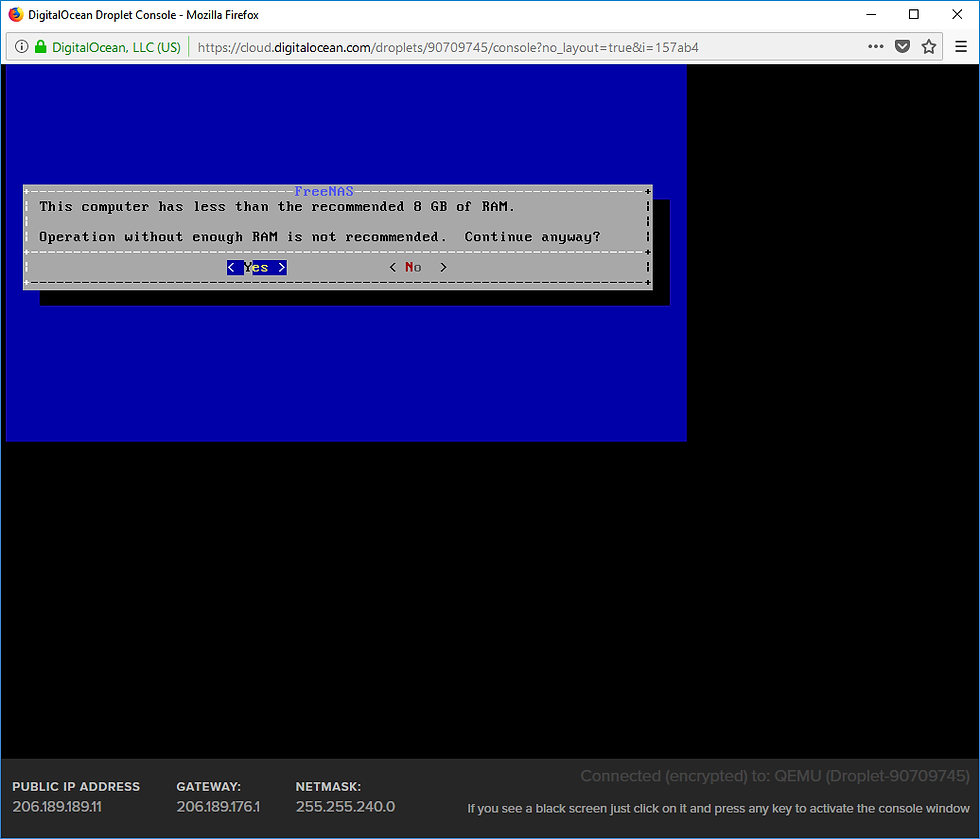
If you chose to run with less then 8G of RAM, you'll get a warning message, if you're only experimenting, you can ignore this warning, otherwise, you'll want to pay attention to RAM based on your usage.

Now pay attention: we need to install FreeNAS on the second block device, the one we've created during the creation of the droplet.
/dev/vtbd0 is out original boot device and you cannot install to it, /dev/da0 is the second one and the one you need to install to.

Now you'll be asked to confirm the installation target, set root password, followed by choosing UEFI or BIOS mode.
While technically you can use UEFI, I've chosen BIOS and had (several) error-free installations, at this point (unless someone corrects me) I don't see a major upside in choosing UEFI:

Now the installation process begins, it takes a few moments:


After which, if all went according to plan, you should be greeted with an ego-booster confirmation:

You can now tap your self on the shoulder, and move on to the next part.
Part 3 - Re-image the boot block device using the FreeNAS-installed block device
It's all quite simple from here, we're going to dd our boot device (/dev/vtbd0) with the block device we used as FreeNAS target device (/dev/da0).
But first, we need to boot into something that we can dd from (because we trashed /dev/vtbd0, remember?)
Head over to DigitalOcean control panel, and shutdown your droplet

Now, under "Destroy" menu option, choose to rebuild your droplet with the same base you used originally

The second block device should be still attached to this droplet, if you want to verify, head over to volume and look under "more"

Boot into your droplet, you can now verify that /dev/da0 still exist (just do an ls /dev).
We'll do the exact same steps we did in part 1, becoming root, turning off swap and relaxing GEOM:

After which, you can dd /dev/da0 onto /dev/vtbd0:

Once done, head over to DigitalOcean control panel, reboot your droplet and fire up the HTML5 console, you should be looking at the initial boot of a FreeNAS installation :)
(Do note: this first boot up takes a while)


DHCP discover will try and fail, don't worry about it, just let it pass:

Also, generating crypto-thingies takes relatively long time:

zzz...ZZZ...zzz...

But, eventually it will all be over with, and.....
TA-DA!

You've made it. Congratulation :)
Last thing before logging into FreeNAS is to setup networking (ip, routing, dns). Your particulars should be showing at the bottom of the HTML5 console, here's a quick demo just so you'll have a clue what it looks like:


And now, open your browser and point it to your droplet IP:

DO NOTE:
This is a demo only, you'll notice I haven't setup SSL yet. Normally, you'd like to do all the config on a private network via a second droplet and only then log into your FreeNAS). Authenticating to a service/server on a non-encrypted connection is a HUGE no no and should be avoided.
Few more notes:
The initial wizard will prompt you to start setup things, it's easy to make the mistake of using /dev/vtbd0 and initiate it. Do not do that, it will trash your boot media and you won't be able to boot into your FreeNAS.
You no longer need /dev/da0, you can destroy it, re-use it as a storage volume or just keep it around if you'll ever need to re-image again from scratch.
There's something to be said on redundancy here: Generally speaking, I would guess that DO's block storage is properly backed up, so I wonder what would be the purpose of say, a RAID-Z2 from data integrity perspective, I doubt if any. HOWEVER, from performance perspective, that's a whole different question. I would guess DO limits there 40G connections to the HyperVisors to some extent, but I wonder if their is a cap on a single block storage bandwidth which is lower then the cap on the droplet cap, could you set up a volume in such a way that would increase your IO throughput?
Other then that, you now have a super-awesome storage appliance in the cloud.
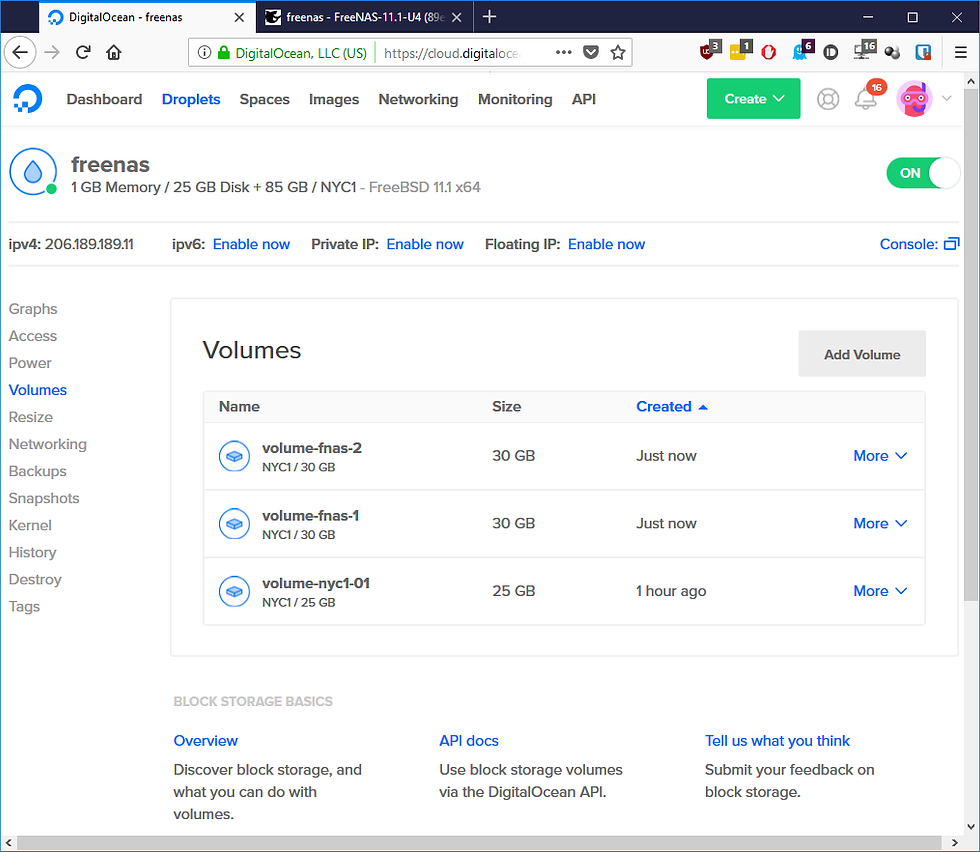
You can go a head and add some block device (from DO's control panel) and they will immediately be available for you to work, here I've made a simple stripe from two such block device, then shared it (on the public internet...other then quickly demoing something, this is a dumb idea, don't do that) with SMB:


That's basically it, explore FreeNAS, it's truly an outstanding power tool, the docs are great, the community is great, there are a lot of site doing far better job at explaining how to run a FreeNAS instance then I can.
Shameless plug: If you want to try all this out, head over to JupiterBroadcasting, other then the very best technology independent non-biased highly praised content you can ever hope to fine, they have promo code to DigitalOcean that'll get you started for free.
(I'm not in any way shape or form affiliated with jupiterbroadcasting nor DigitalOcean, I just highly appreciative of both companies for the outstanding product they have in their respective domains).


Comments